Toolbox Projects
The Toolbox Projects are concrete implementations of some of the Toolbox components that are designed to be used by the end users or applications. They perform different types of tasks mostly related to computer vision and machine learning and can be found on toolbox/Projects.
The following table lists the currently provided Projects:
Name |
Description |
|---|---|
Detect faces on images |
|
Detect and extract features of faces, create a facial dataset and recognize faces |
|
Detect faces, predicts their gender and estimate their age |
|
Performs instance segmentation on images |
|
Predicts the position of body key points |
|
Classify different types of face expressions |
|
API to upload and download images and visualize the data generated by the Toolbox |
|
Web UI to showcase the Toolbox Project APIs and components |
Projects offer the following components:
A class that performs the task for which it has been designed and that can be imported as a Python module and used in other applications.
A configuration YAML file that defines the parameters of the Project and its components.
An API REST module that allows calling the project’s main functionalities.
A
demo.pyscript that allows the execution of the Project through command lines.
API REST
Projects are intended to be used by the final users or applications through their APIs. They are developed using the FastApi Python framework which has some key features such as:
Automatic documentation generation.
Automatic type validation using Pydantic.
Based on open standards like OpenAPI and JSON Schema.
Asynchronous calls.
Production-ready with Uvicorn server.
They work in conjunction with a context broker, which acts as a mediator between the Projects and the data sources. The input data is received from the context broker, which is then processed to generate an output that is posted back to the context broker. The generated data uses the NGSI-LD format and follows the data models defined by the Toolbox. This approach enables an efficient way of retrieving and publishing data, utilizing a well-known standard and unifying the output of each component on a single common endpoint.
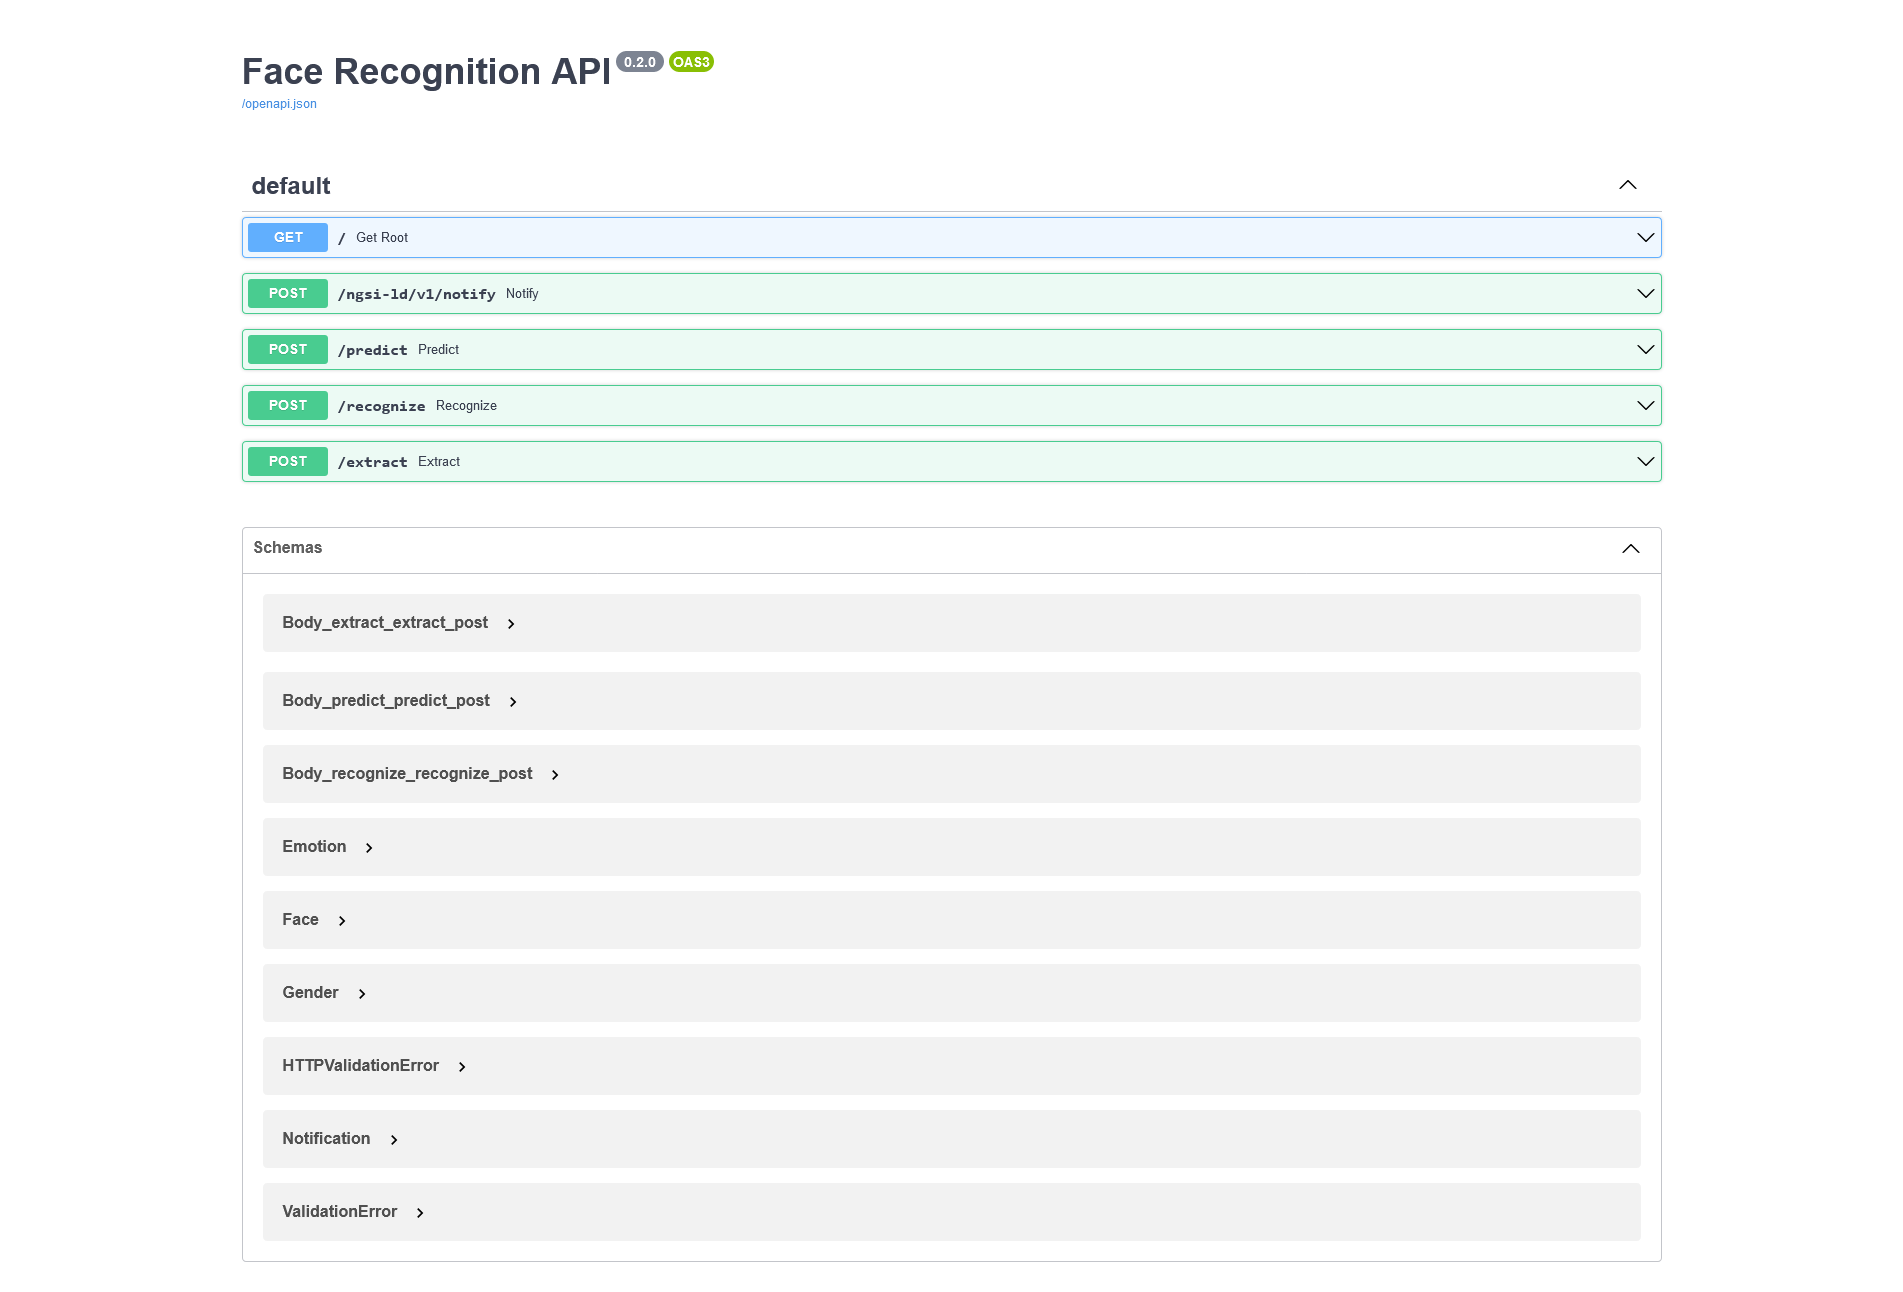
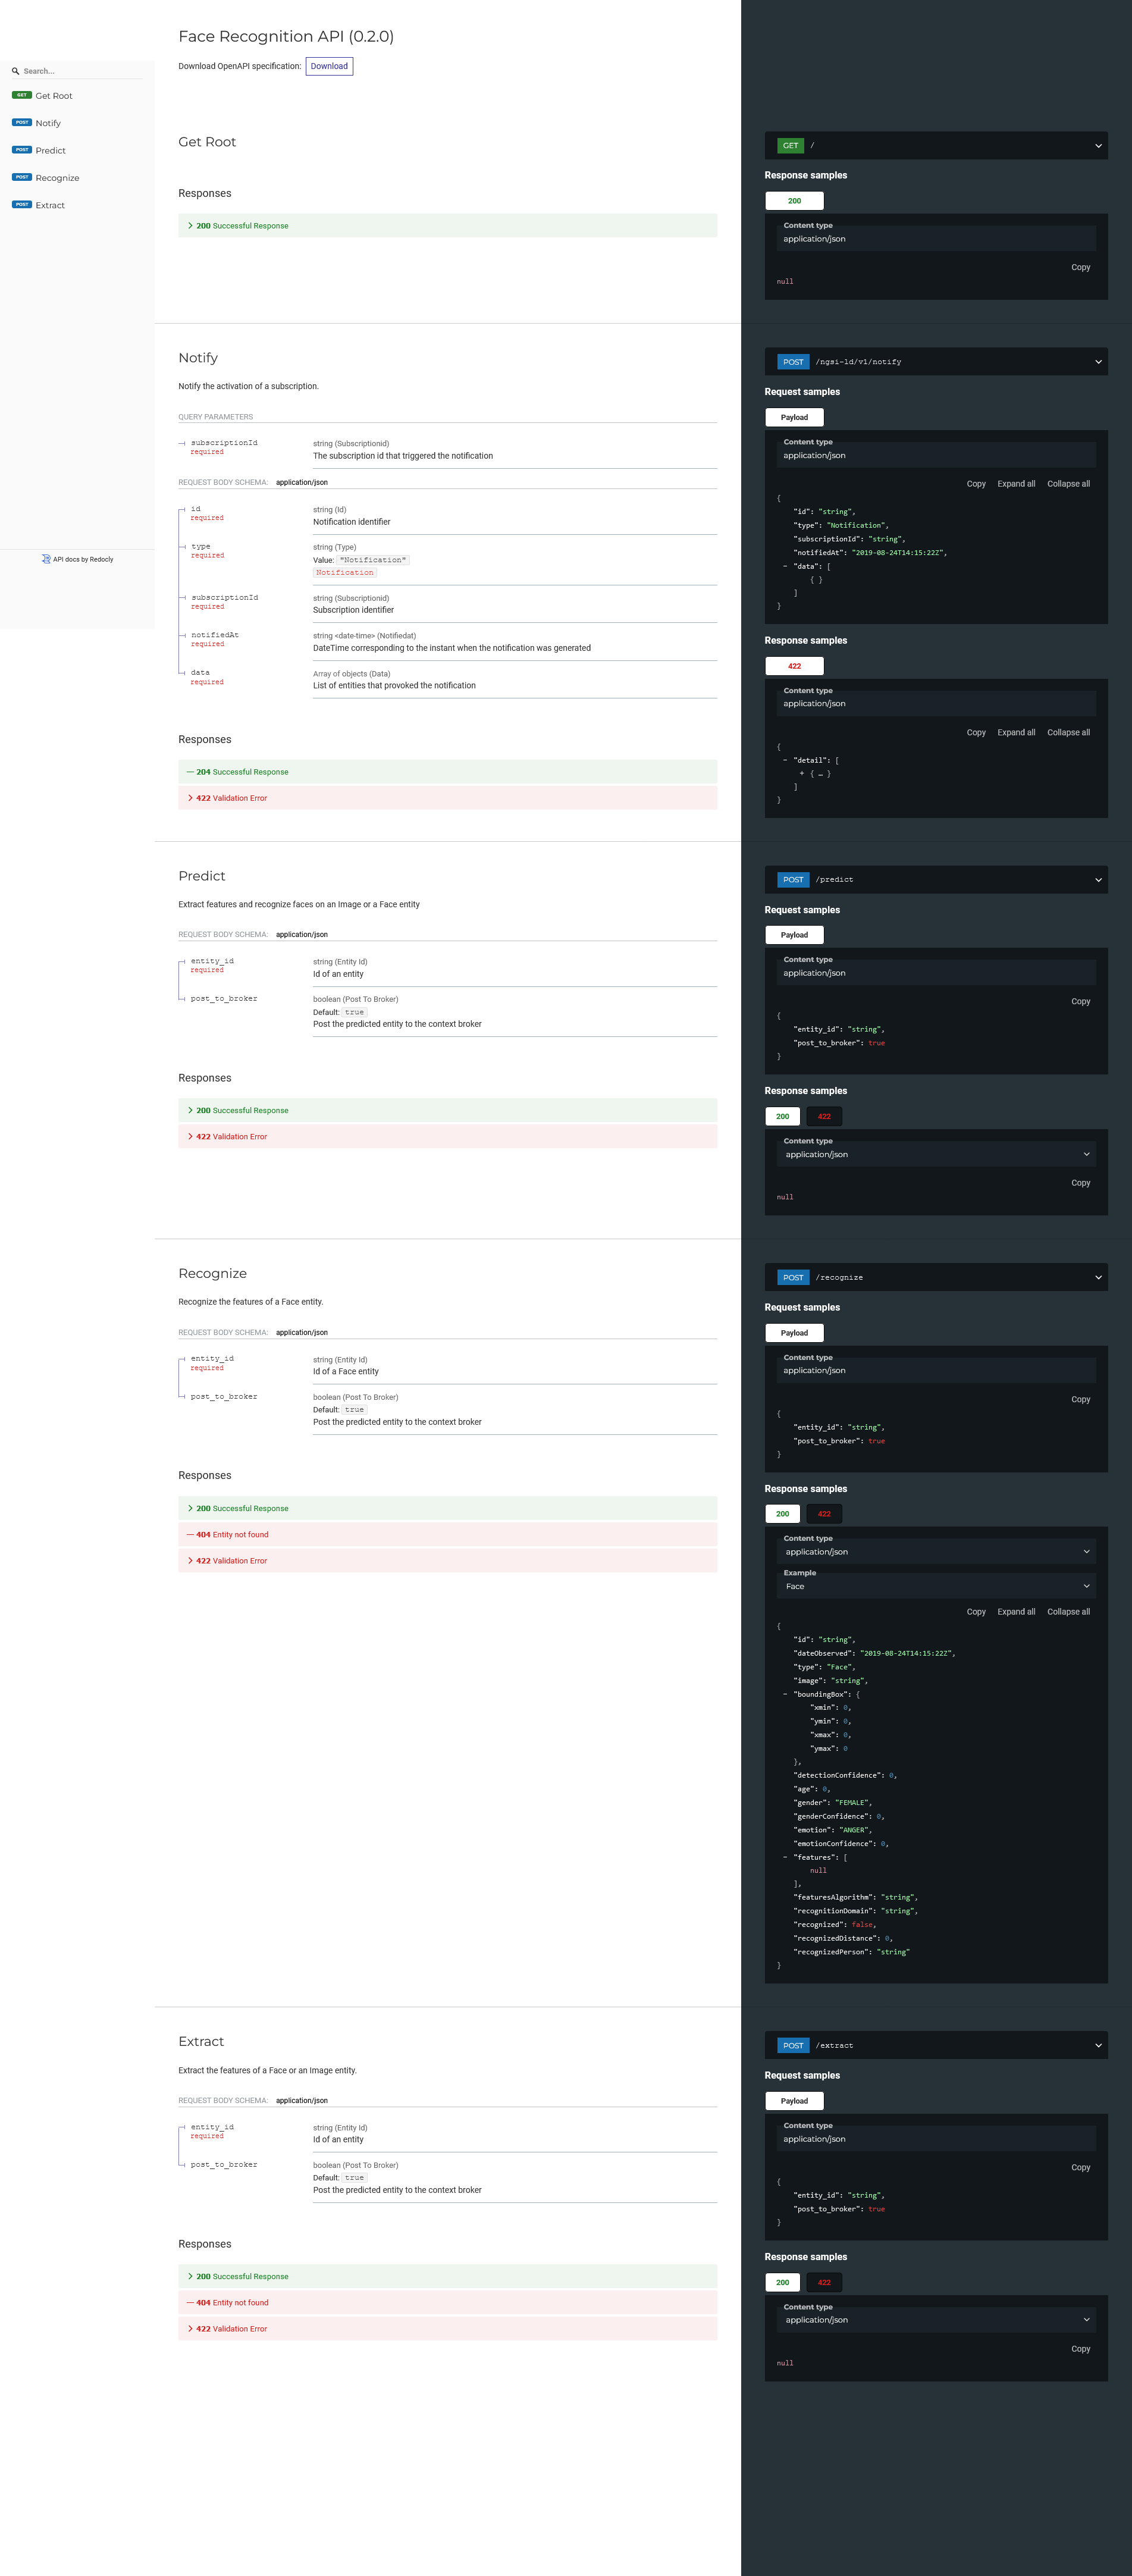
The API supports automatic and interactive documentation generation with swagger-ui and redoc. They are available by default on http://127.0.0.1:8080/docs and http://127.0.0.1:8080/redoc respectively.
Screenshots
swagger-ui
redoc
Configuration YAML
Projects use a configuration YAML file to define their parameters. On each Project folder is a config.yaml file with the default values.
The configuration system allows the overriding of other configuration YAMLs with the field __BASE__ followed by the path to the YAML file. It also allows inserting values from the environment variables, using the keyword !ENV before the value and encapsulating the variable name in ${...}. (e.g. notification_uri: !ENV http://${HOST}:${PORT}/ngsi-ld/v1/notify)
demo.py
Projects related to image processing include a demo.py script that allows running the Project from the command line and trying its base functionalities.
To see the accepted arguments use the --help option:
python demo.py --help
usage: demo.py [-h] [-c CONFIG] {local,producer,consumer,visualize} ...

optional arguments:
  -h, --help            show this help message and exit
  -c CONFIG, --config CONFIG
                        Path to the configuration YAML (default 'config.yaml')

task:
  {local,producer,consumer,visualize}
    local               Run the project locally
    producer            "Run the project on images and upload the results to a context broker
    consumer            Retrieve and parse entities from a context broker
    visualize           Visualize an entity from the context broker
The demo usually has four main modes or tasks specified as the first parameter:
local: Runs the Project without a context broker, shows the results and optionally saves an output image:
python demo.py local --help
usage: demo.py local [-h] -i IMAGE [-o OUTPUT]

optional arguments:
  -h, --help            show this help message and exit
  -i IMAGE, --image IMAGE
                        Path or URL to an image or folder with images
  -o OUTPUT, --output OUTPUT
                        Optional output image file path when running a single image or an output folder when running on multiple images
Example:
python demo.py local -i ../../../data/samples/images/general/faces_00.jpg -o output.jpg
producer: Posts the Project output to the context broker:
python demo.py producer --help
usage: demo.py producer [-h] -i IMAGE

optional arguments:
  -h, --help            show this help message and exit
  -i IMAGE, --image IMAGE
                        Path or URL to an image or folder with images
Example:
python demo.py producer -i ../../../data/samples/images/general/faces_00.jpg
consumer: Retrieves a single entity from the context broker or subscribes to it and processes the data:
python demo.py consumer --help
usage: demo.py consumer [-h] [-i ID] [-s] [--post-to-broker]

optional arguments:
  -h, --help        show this help message and exit
  -i ID, --id ID    Optional entity ID
  -s, --subscribe   Subscribe to the context broker with the subscriptions in the config
  --post-to-broker  Post the consumed entities to the context broker
Example:
python demo.py consumer -i urn:ngsi-ld:Image:mMPzYd3PEe2xkn0DPT8lZA
visualize: Visualizes an existing entity in the context broker:
python demo.py visualize --help
usage: demo.py visualize [-h] -i ID [--image IMAGE] -o OUTPUT

optional arguments:
  -h, --help            show this help message and exit
  -i ID, --id ID        Entity ID
  --image IMAGE         Optional image file where draw the retrieved entity. If not set, it will try to get the image by its ID
  -o OUTPUT, --output OUTPUT
                        Output image file path
Example:
python demo.py visualize -i Face:vdNSGeAtEe2RsjCcI__G6g --image ../../../data/samples/images/general/faces_00.jpg -o output.jpg